Bootstrap Offset Tutorial
Intro
It is really excellent when the web content of our pages simply fluently extends over the whole width readily available and conveniently alter dimension as well as disposition when the width of the screen changes though sometimes we need to have giving the elements some space around to breath without any additional components around them due to the fact that the balance is the key of receiving light and pleasant appeal conveniently delivering our content to the ones visiting the web page. This free area coupled with the responsive activity of our web pages is really an essential aspect of the layout of our web pages .
In the newest version of one of the most popular mobile friendly system-- Bootstrap 4 there is really a special set of solutions applied to positioning our features specifically the places we need them and improving this location and appearance according to the size of the display page gets shown.
These are the so called Bootstrap Offset Popover and push / pull classes. They perform absolutely quick and easy and in intuitive way being incorporated through the grid tier infixes like -sm-, -md- and so on.
The ways to put into action the Bootstrap Offset Example:
The basic syntax of these is pretty easy-- you have the action you ought to be taken-- like .offset for example, the smallest grid sizing you require it to apply from and above-- such as -md as well as a value for the needed action in variety of columns-- just like -3 for instance.
This whole thing put together results .offset-md-3 which will offset the desired column element with 3 columns to the right from its default position on medium screen sizes and above. .offset classes always shifts its content to the right.
This whole entire detail produced results .offset-md-3 that will offset the wanted column element with 3 columns to the right from its default placement on medium display screen scales and above. .offset classes usually shifts its own content to the right.
Some example
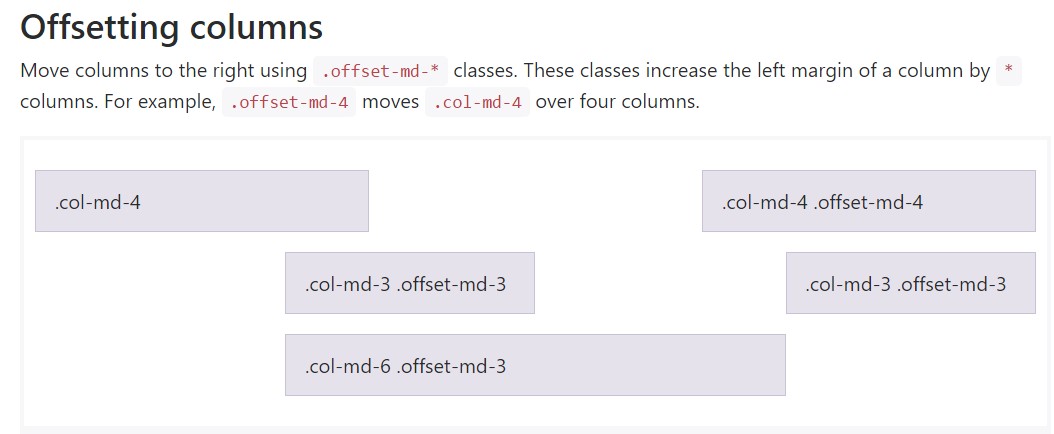
Shift columns to the right utilizing .offset-md-* classes. These particular classes raise the left margin of a column by * columns.For example,.offset-md-4 drive .col-md-4 above four columns.
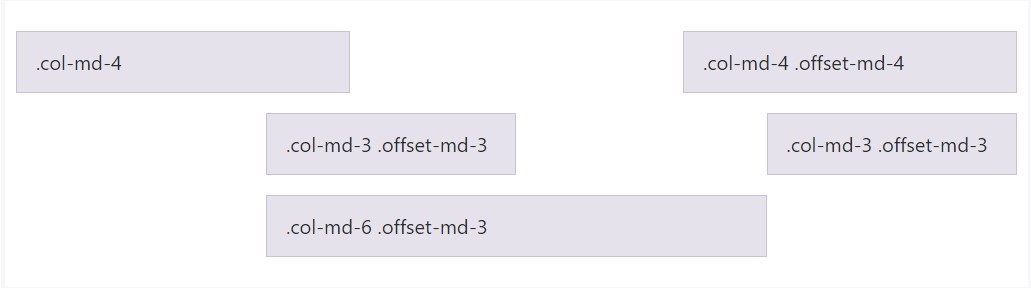
<div class="row">
  <div class="col-md-4">.col-md-4</div>
  <div class="col-md-4 offset-md-4">.col-md-4 .offset-md-4</div>
</div>
<div class="row">
  <div class="col-md-3 offset-md-3">.col-md-3 .offset-md-3</div>
  <div class="col-md-3 offset-md-3">.col-md-3 .offset-md-3</div>
</div>
<div class="row">
  <div class="col-md-6 offset-md-3">.col-md-6 .offset-md-3</div>
</div>
Essential aspect
Important thing to note here is up out of Bootstrap 4 alpha 6 the -xs infix has been really cancelled and so for the most compact screen dimensions-- under 34em or else 554 px the grid size infix is omitted-- the offsetting tools classes get followed by the chosen quantity of columns. So the instance from above is going to come to be something similar to .offset-3 and will deal with all display dimensions unless a standard for a wider viewport is determined-- you can certainly do that by just appointing the proper .offset- ~ some viewport size here ~ - ~ some number of columns ~ classes to the very same component.
This technique operates in case when you ought to format a single feature. With the condition that you however for some kind of issue need to remove en element baseding upon the ones surrounding it you are able to use the .push - plus .pull classes that basically perform the same thing but filling the free space lost with the following component when possible. And so for instance in the case that you come with two column items-- the first one 4 columns wide and the next one-- 8 columns large (they both fill the whole entire row) utilizing .push-sm-8 to the number one feature and .pull-md-4 to the 2nd will really reverse the order in which they get featured on small viewports and above. Deleting the –xs- infix for the most compact display dimensions counts here as well.
And at last-- due to the fact that Bootstrap 4 alpha 6 introduces the flexbox utilities for setting material you are able to also apply these for reordering your web content applying classes like .flex-first and .flex-last to apply an element in the starting point or at the end of its row.
Final thoughts
So generally that's the method ultimate fundamental components of the Bootstrap 4's grid structure-- the columns get assigned the intended Bootstrap Offset Example and ordered precisely like you want them regardless the way they come about in code. Nevertheless the reordering utilities are pretty effective, the things should be revealed primarily should in addition be identified first-- this are going to additionally make things a lot easier for the guys reading your code to get around. However certainly it all depends on the specific scenario and the goals you're wanting to get.
Review a few youtube video guide regarding Bootstrap Offset:
Linked topics:
Bootstrap offset approved documents
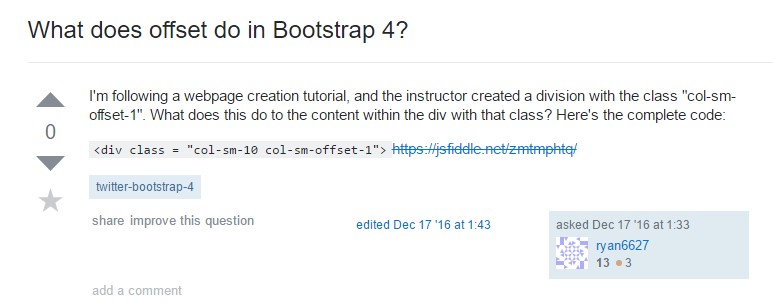
What does offset do in Bootstrap 4?
Bootstrap Offset:question on GitHub
